Mastering Mobile Photography: Remember the days when a “good photo” required an expensive DSLR camera and a bulky lens kit? Not anymore. Today, the most powerful camera is likely already in your pocket.
The quality of smartphone cameras has exploded in recent years, making it possible for anyone to capture incredible images. In fact, a recent report from ElectroIQ reveals that smartphones now account for over 92.5% of all photos taken globally. This means the vast majority of our visual stories are being told with a device we use every day.
But simply pointing and shooting won’t always give you a high-quality result. To truly elevate your work and start taking better photos with your smartphone, you need to go beyond the basics. This guide will walk you through 10 actionable tips, from simple compositional tricks to pro-level editing techniques, that will help you unlock your phone’s true photographic potential.
1. Clean Your Lens – The Simplest, Most Effective Tip
This might sound obvious, but it’s the most common mistake people make. Your phone spends its life in your pocket, bag, or in your hands, accumulating dust, lint, and fingerprints. A dirty lens will create a hazy, blurry effect on your photos, no matter how good your lighting or composition is. Before every shot, take a moment to wipe the lens with a soft, microfiber cloth. It takes two seconds and can dramatically improve the clarity and sharpness of your images.
2. Master the Light: Your Best Friend in Photography
Photography is all about light. Learning how to use it effectively is the single most important skill to master for taking better photos with your smartphone.

- Avoid Direct Flash: The built-in flash on most smartphones can create harsh shadows and unflattering light. Instead, try to find a natural light source.
- Embrace Golden Hour: The hour after sunrise and the hour before sunset, known as “golden hour,” casts a warm, soft light that is ideal for portraits and landscapes.
- Use Natural Light to Your Advantage: Position yourself so the light is hitting your subject from the side (for drama and shadows) or from the front (to evenly light the scene). For portraits, find a window and place your subject facing it for beautiful, soft light.
3. Learn to Use the Grid: The Rule of Thirds
Every smartphone camera app has an option to turn on gridlines. This isn’t just a stylistic choice—it’s a fundamental compositional tool. The grid divides your screen into nine equal sections. The “Rule of Thirds” suggests that placing your subject along these lines or at their intersections creates a more balanced and dynamic image.

For example, instead of centering a person in a portrait, try placing them on the left or right vertical line. It instantly makes the photo more visually appealing.
4. Get Closer (But Don’t Zoom!)
Digital zoom on a smartphone camera is not your friend. It works by simply cropping and enlarging the image, which results in a significant loss of quality and a pixelated, grainy photo. To fill the frame and create a powerful composition, physically move closer to your subject. If you want to capture a distant scene, get as close as you can and take the shot without zooming.

You can always crop it later in the editing process without the loss of quality that comes with digital zoom.
5. Play with Perspective and Angles
Most people take photos from a standing position, which can lead to a lot of monotonous shots. To make your photos stand out, experiment with different perspectives.

- Get Low: Kneel down or even lie on the ground to capture a scene from a new angle. This works great for photographing pets or children.
- Shoot from Above: Get a bird’s-eye view to create interesting patterns and compositions.
- Find Leading Lines: Look for natural or man-made lines in your environment (like a road, a fence, or a bridge) that draw the viewer’s eye into the photo.
6. Lock Your Focus and Exposure
A major difference between an amateur snap and a professional-looking photo is control over focus and exposure. Your phone’s camera automatically tries to decide what to focus on, and it doesn’t always get it right. To take control, simply tap and hold on the screen where you want to focus.
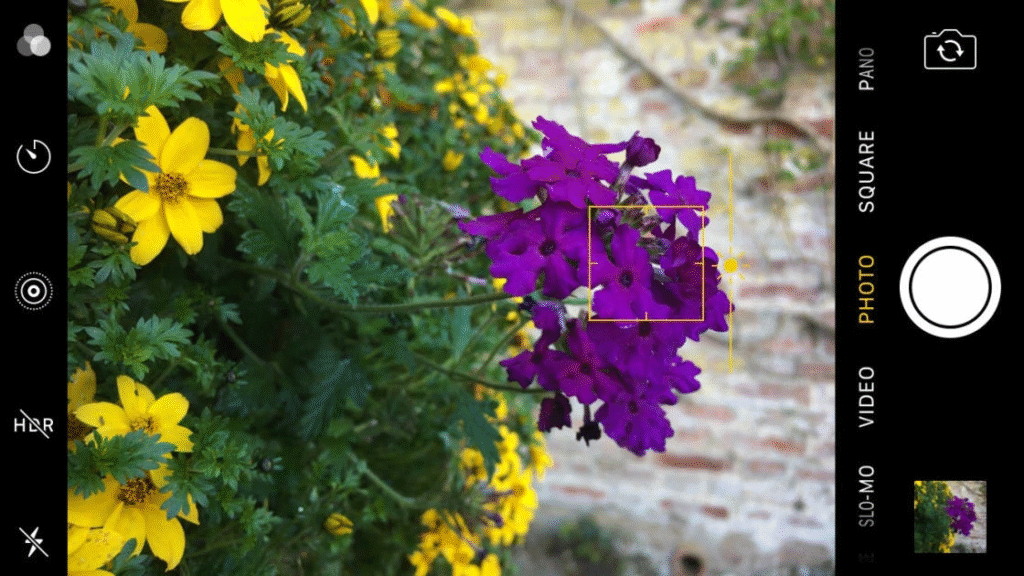
This will lock the focus (and often the exposure as well), allowing you to move your phone slightly without losing your desired point. This is especially useful for portraits where you want to ensure the subject’s face is sharp, not the background.
7. Use Burst Mode to Capture Movement

Trying to get a perfect shot of a pet in motion or a person jumping? Burst mode is your secret weapon. By holding down the shutter button, your phone will rapidly take a series of photos. You can then go back through the burst and select the single best image, ensuring you capture that fleeting moment perfectly.
Also Read: DJI Mini 5 Pro Launched: Price, Availability, and What’s New?
8. Harness the Power of Editing Apps
The photo you take is just the first step. The real magic often happens in the edit. While your phone’s built-in tools are good, dedicated editing apps offer a whole new level of control.
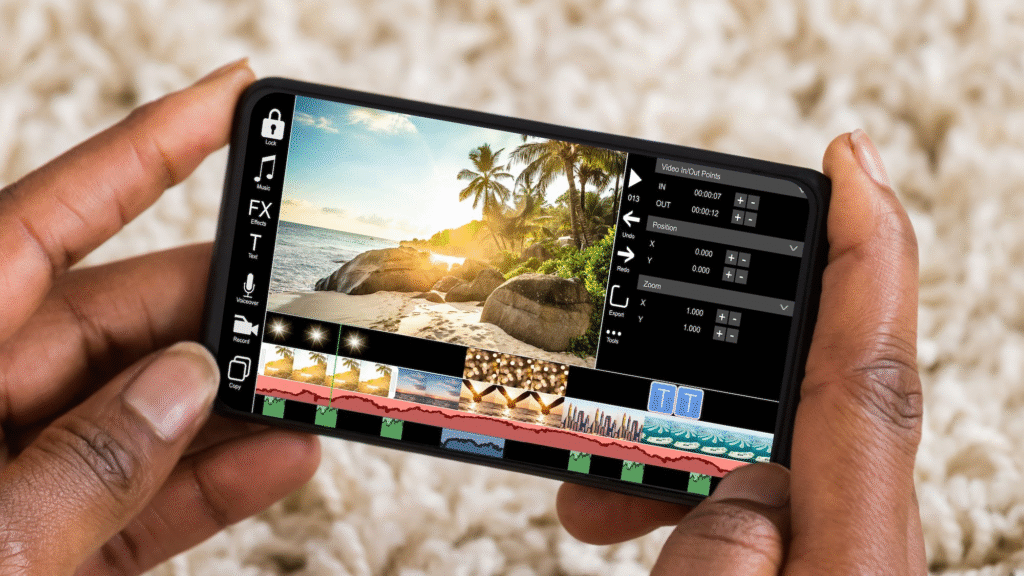
- For Professionals and Enthusiasts: Apps like Adobe Lightroom Mobile and Snapseed (a great free option from Google) allow you to make detailed adjustments to exposure, contrast, shadows, highlights, and color.
- For Creative Effects: Apps like VSCO and Picsart offer a wide range of filters and creative tools to give your photos a unique look.
Remember, a little goes a long way. The goal isn’t to over-edit, but to enhance what’s already there.
9. Consider Smartphone Photography Accessories
While a good photo is about skill, not gear, a few affordable accessories can take your photography to the next level.
- Tripod: A small, portable tripod can help you capture sharp, blur-free images, especially in low light or for long exposure shots.
- External Lenses: Clip-on lenses (like wide-angle or macro lenses) can expand your phone’s capabilities without the bulk of a traditional camera.
- Portable Lighting: A small LED ring light or panel can provide professional-looking light for portraits and product photography.
10. Find Your Story and Shoot Often
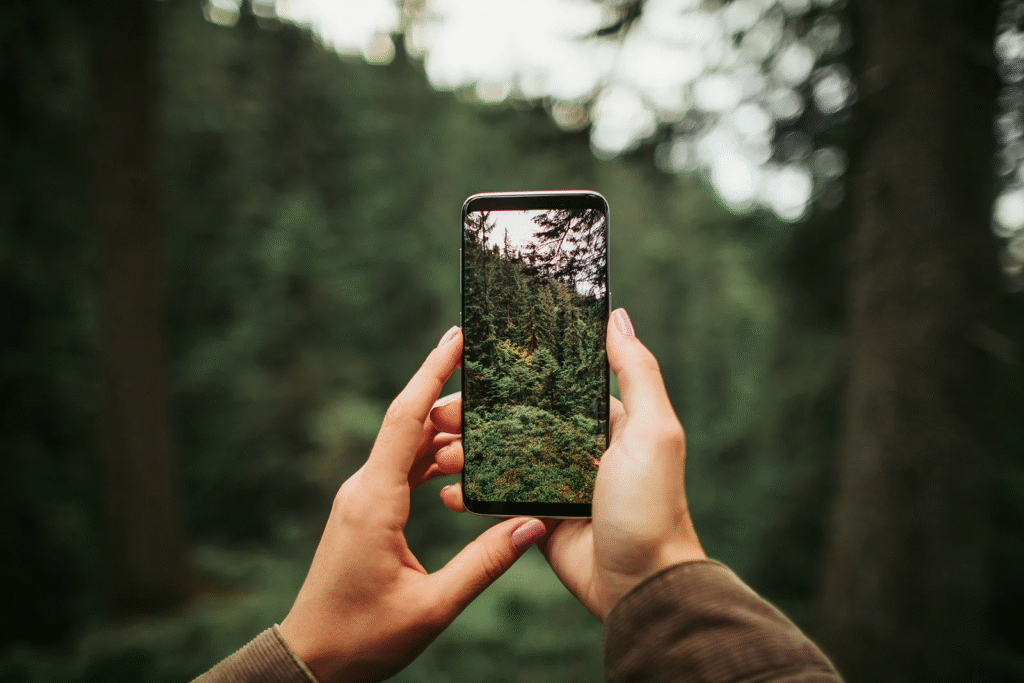
The best camera is the one you have with you. Your smartphone is always ready to capture the world around you. Don’t wait for a special occasion. Look for stories in the everyday—the way the light hits your coffee mug, the texture of an old wall, or a candid moment with a friend. The more you practice, the better you will get.
Learn from the work of others, such as acclaimed mobile photographers like Cocu Liu, whose work on the iPhone has been featured in major publications and galleries. For more inspiration, you can check out mobile photography blogs like The Appy Hour for tips and artist features.
Start Taking Better Photos with Your Smartphone Today
Taking great photos with your phone isn’t about having the latest model. It’s about understanding the fundamentals of photography and applying them with intention. By cleaning your lens, mastering light, using compositional tools like the Rule of Thirds, and making smart use of editing apps, you can transform your phone from a simple camera into a powerful creative tool. Start small, practice these tips, and you’ll be amazed at the quality of the photos you can create.
Now, go out there and start capturing your world! What’s the first tip you’ll try? Share your best shots in the comments below!

