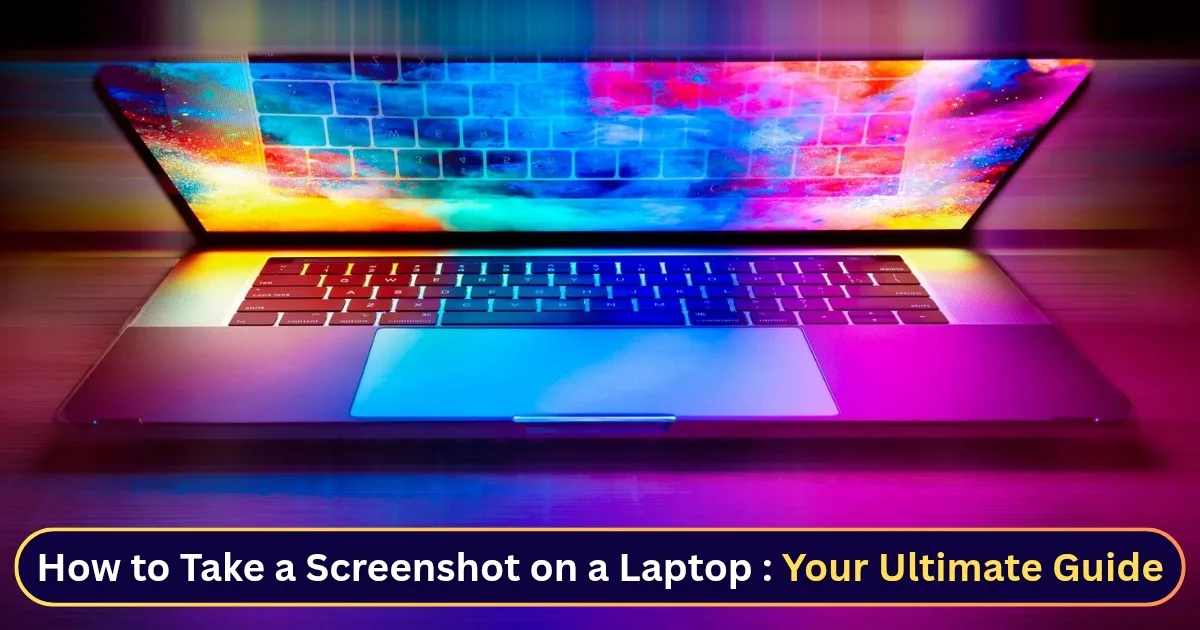
How to Take a Screenshot on a Laptop: Have you ever needed to save a receipt from an online store, share a funny meme, or troubleshoot a technical issue by showing exactly what’s on your screen? Taking a screenshot is a fundamental skill for anyone using a laptop, yet the process isn’t always straightforward. A recent survey by Statista showed that over 70% of people use screenshots at least once a week, highlighting just how essential this function is in our digital lives.
Whether you’re a Windows warrior, a macOS maven, or a Chromebook champion, this guide will walk you through every method, from the quick-and-easy keyboard shortcuts to the powerful, built-in tools. By the end, you’ll be a screenshot pro, able to capture any part of your screen with precision and speed.
The Easiest Ways to Take a Screenshot on a Laptop (All Operating Systems)
How to Take a Screenshot on a Laptop: Let’s start with the most common and simple methods. These are the go-to shortcuts you’ll use for 90% of your screenshot needs.
Windows 10 & 11: The Print Screen Key & More

The ‘Print Screen’ key is your best friend on a Windows laptop. It’s usually labeled as “PrtScn,” “PrtSc,” or “Print Screen” and is located in the top-right section of your keyboard.
- To capture the entire screen: Simply press the PrtScn key. This copies an image of your entire screen to your clipboard. You’ll then need to paste it into an image editor like MS Paint, Adobe Photoshop, or even a Word document.
- To capture the entire screen and save it automatically: Press the Windows key + PrtScn simultaneously. Your screen will briefly dim, and the screenshot will be automatically saved as a PNG file in a “Screenshots” folder within your “Pictures” library. This is a game-changer for saving time.
- To capture only the active window: Select the window you want to capture, then press Alt + PrtScn. This will copy only that specific window to your clipboard, perfect for when you have multiple programs open.
macOS: The Command-Shift Combo
How to Take a Screenshot on a Laptop: Mac users have an intuitive and powerful set of shortcuts built right into the operating system.

- To capture the entire screen: Press Command (⌘) + Shift + 3. A thumbnail of the screenshot will appear in the bottom-right corner of your screen, and the image will be saved as a PNG file to your desktop.
- To capture a specific window: Press Command (⌘) + Shift + 4, then press the Spacebar. Your cursor will turn into a camera icon. Click on the window you want to capture. This method is incredibly precise.
- To capture a custom area of the screen: Press Command (⌘) + Shift + 4. Your cursor will turn into a crosshair. Click and drag a box around the area you want to capture.
Chromebooks: The Ctrl + Show Windows Key
Taking a screenshot on a Chromebook is a breeze, though the key combination is a little different.

- To capture the entire screen: Press the Ctrl key and the Show Windows key (it looks like a rectangle with two vertical lines on the right, usually located above the number 6 key). The screenshot will be saved to your “Downloads” folder.
- To capture a custom area of the screen: Press Ctrl + Shift + Show Windows. Your cursor will turn into a crosshair, allowing you to select a specific area to capture.
Advanced Screenshot Tools for More Control
While shortcuts are great for quick captures, sometimes you need more power. This is where dedicated snipping tools come in.
Also Read: How Gen Z Is Driving Eco-Friendly Consumer Trends
Windows: The Snipping Tool and Snip & Sketch
How to Take a Screenshot on a Laptop: Windows has excellent built-in tools that go far beyond the Print Screen key.

- Snip & Sketch (the newer tool): Press Windows key + Shift + S. This will open a small menu at the top of your screen, allowing you to choose between four options:
- Rectangular Snip: Capture a rectangular area.
- Freeform Snip: Draw a freehand shape to capture an irregular area.
- Window Snip: Capture a specific window with one click.
- Full-screen Snip: Capture the entire screen. The screenshot is copied to your clipboard and a notification appears, allowing you to open it in the full Snip & Sketch app for editing and annotation.
macOS: The Screenshot App
Mac users can use a dedicated Screenshot app to access all their options from a single interface.

- Press Command (⌘) + Shift + 5. This opens a menu with several options at the bottom of your screen. From here, you can:
- Capture the entire screen, a window, or a selected portion.
- Record your entire screen or a selected portion.
- Change where your screenshots are saved (e.g., Desktop, Documents, Clipboard).
- Set a timer for delayed screenshots.
Chromebooks: The Capture Tool
Chromebooks also have a dedicated tool for screenshots and screen recordings.

- Click on the Quick Settings Panel in the bottom-right corner of your screen (where the clock is).
- Select the Screen capture icon.
- This opens a menu with options to take a full-screen screenshot, a partial screenshot, a window screenshot, or even a screen recording.
Why You Should Master Taking Screenshots
“A picture is worth a thousand words” is a cliché for a reason. Taking a screenshot is a powerful communication tool. Consider these scenarios:
- Technical Support: When your computer is acting up, a screenshot is often the fastest way to show a support agent exactly what you’re seeing.
- Creative Inspiration: Found a design you love on a website? Take a screenshot for future reference.
- Online Shopping: Captured the product page with a great deal or a specific product configuration.
- Documentation: From creating how-to guides to saving important receipts, a screenshot is a quick way to document digital information.
Mastering how to take a screenshot on a laptop not only saves you time but also makes you a more effective digital communicator. For more tips on digital productivity.
Pro Tips for the Perfect Screenshot
- Clear the Clutter: Before taking a screenshot, close any unnecessary windows or applications to keep the focus on what you’re trying to capture.
- Use Annotation: Once you’ve captured your screenshot, use a simple editor like the Windows Snip & Sketch or macOS Preview to add arrows, text, or highlights to draw attention to specific details. This is especially useful for technical support or presentations.
- Check File Format: While most tools save screenshots as PNGs (a high-quality format), some might use JPEGs. For crisp text and graphics, PNG is generally the better choice.
- Know Your Shortcuts: The more you use them, the faster they become. Commit your most-used screenshot shortcut to memory.
Conclusion: Become a Screenshot Expert
How to Take a Screenshot on a Laptop: From the simple PrtScn key to the advanced features of dedicated snipping tools, there are countless ways to take a screenshot on a laptop. By understanding the methods for your specific operating system, you can capture and share information more effectively than ever before. We’ve covered the basics for Windows, Mac, and Chromebooks, as well as the more powerful, built-in tools.
So, the next time you need to capture your screen, you’ll know exactly which key combination to press or which tool to use. Get ready to save, share, and communicate with crystal-clear images.